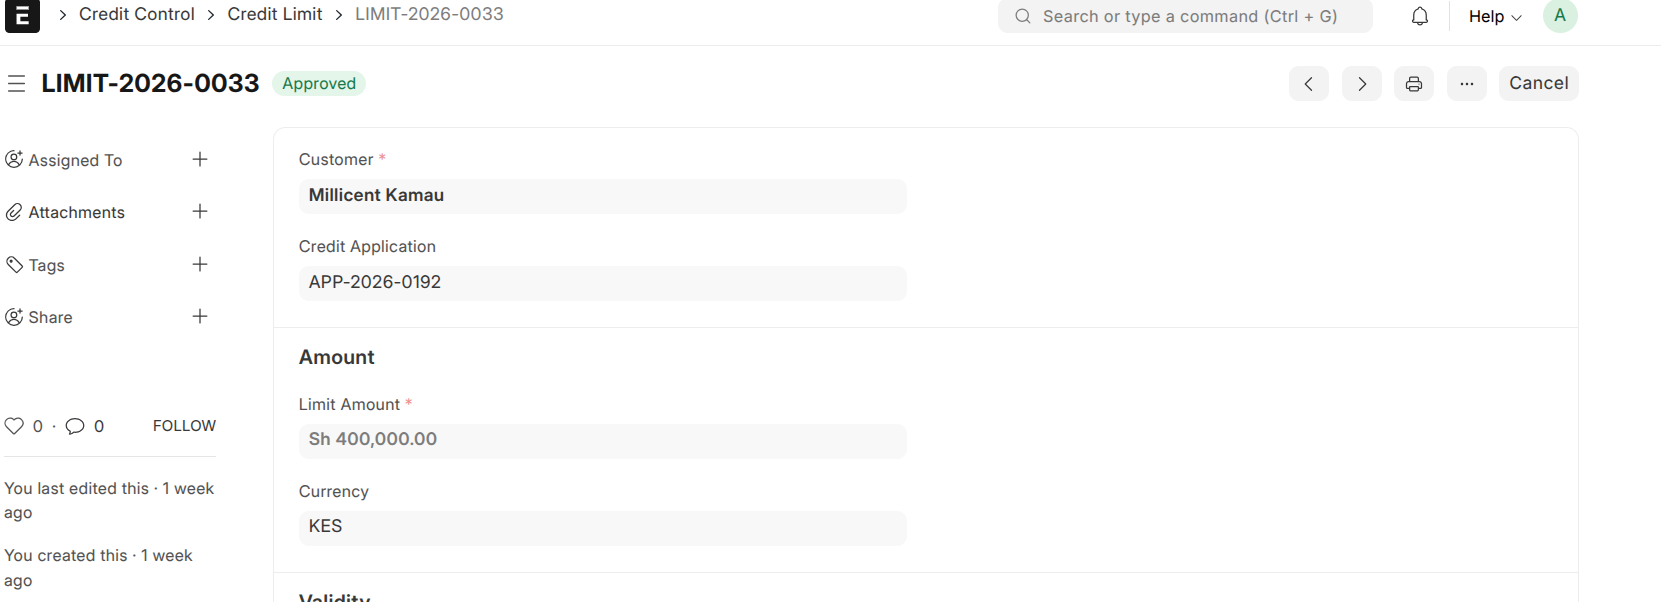
Approving a Credit Limit
Approving a Credit Limit
A Credit Limit is its own formal record with an approval chain and a justification, kept separate from the customer profile so that every limit decision has a clear paper trail. Approving a limit is what activates it — from that point, ERPNext enforces it on the customer's orders.
How approval works
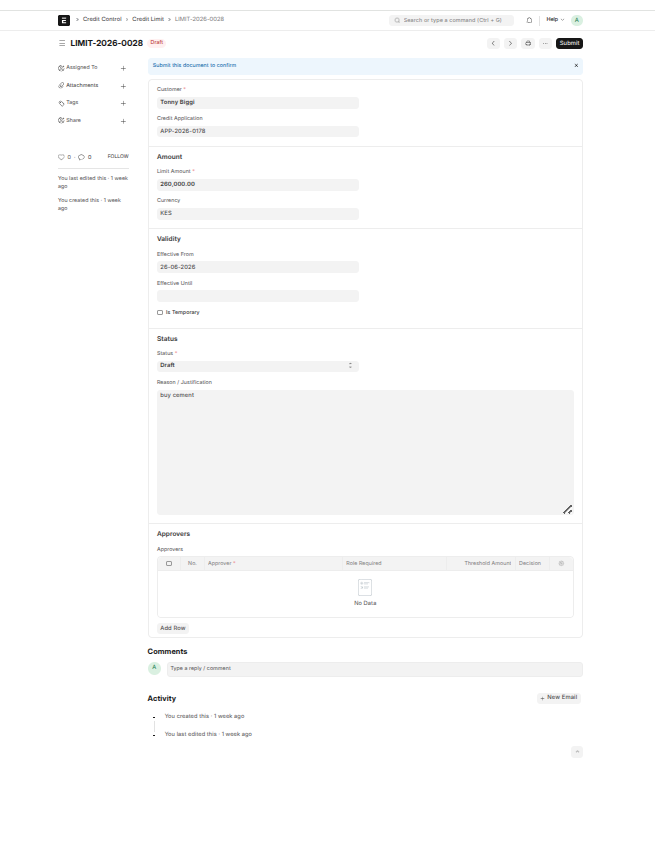
Approval happens by submitting the limit, not by editing a status field. Submitting is the approval: it sets the limit to Approved, locks the record so it can't be quietly changed, and activates enforcement.
- Make sure each required approver has marked their decision as Approved.
- Leave the Status field alone — don't set it to Approved by hand.
- Save the record.
- Click Submit. The limit is now approved, locked, and live.
If you try to set the status to Approved manually, the system stops you and tells you to use Submit instead — so every approval is a deliberate, recorded action.
Changing a limit later
Because an approved limit is locked, you can't just edit it. To change it:
- Open the approved limit and choose Cancel from the "⋯" (more) menu to withdraw it.
- Choose Amend to create a new editable copy.
- Adjust the amount and Submit the new version.
Both the old and new versions stay on record.
What happens once approved
The approved limit syncs to the customer, where the built-in credit check enforces it. When a sales order would push the customer over their limit, it's blocked — though a Credit Manager can review and override.
Who can approve
Credit Managers and Credit Directors can submit, cancel, and amend limits. Analysts and collectors can view them but not approve.