A Stock Entry lets you record Item movement between Warehouses.
To access the Stock Entry list, go to:
Home > Stock > Stock Transactions > Stock Entry
Stock Entries can be made for the following purposes:
- Material Issue: If the material is being issued to someone in or outside the company (Outgoing Material). The Items will be deducted from the Warehouse set under Source Warehouse.
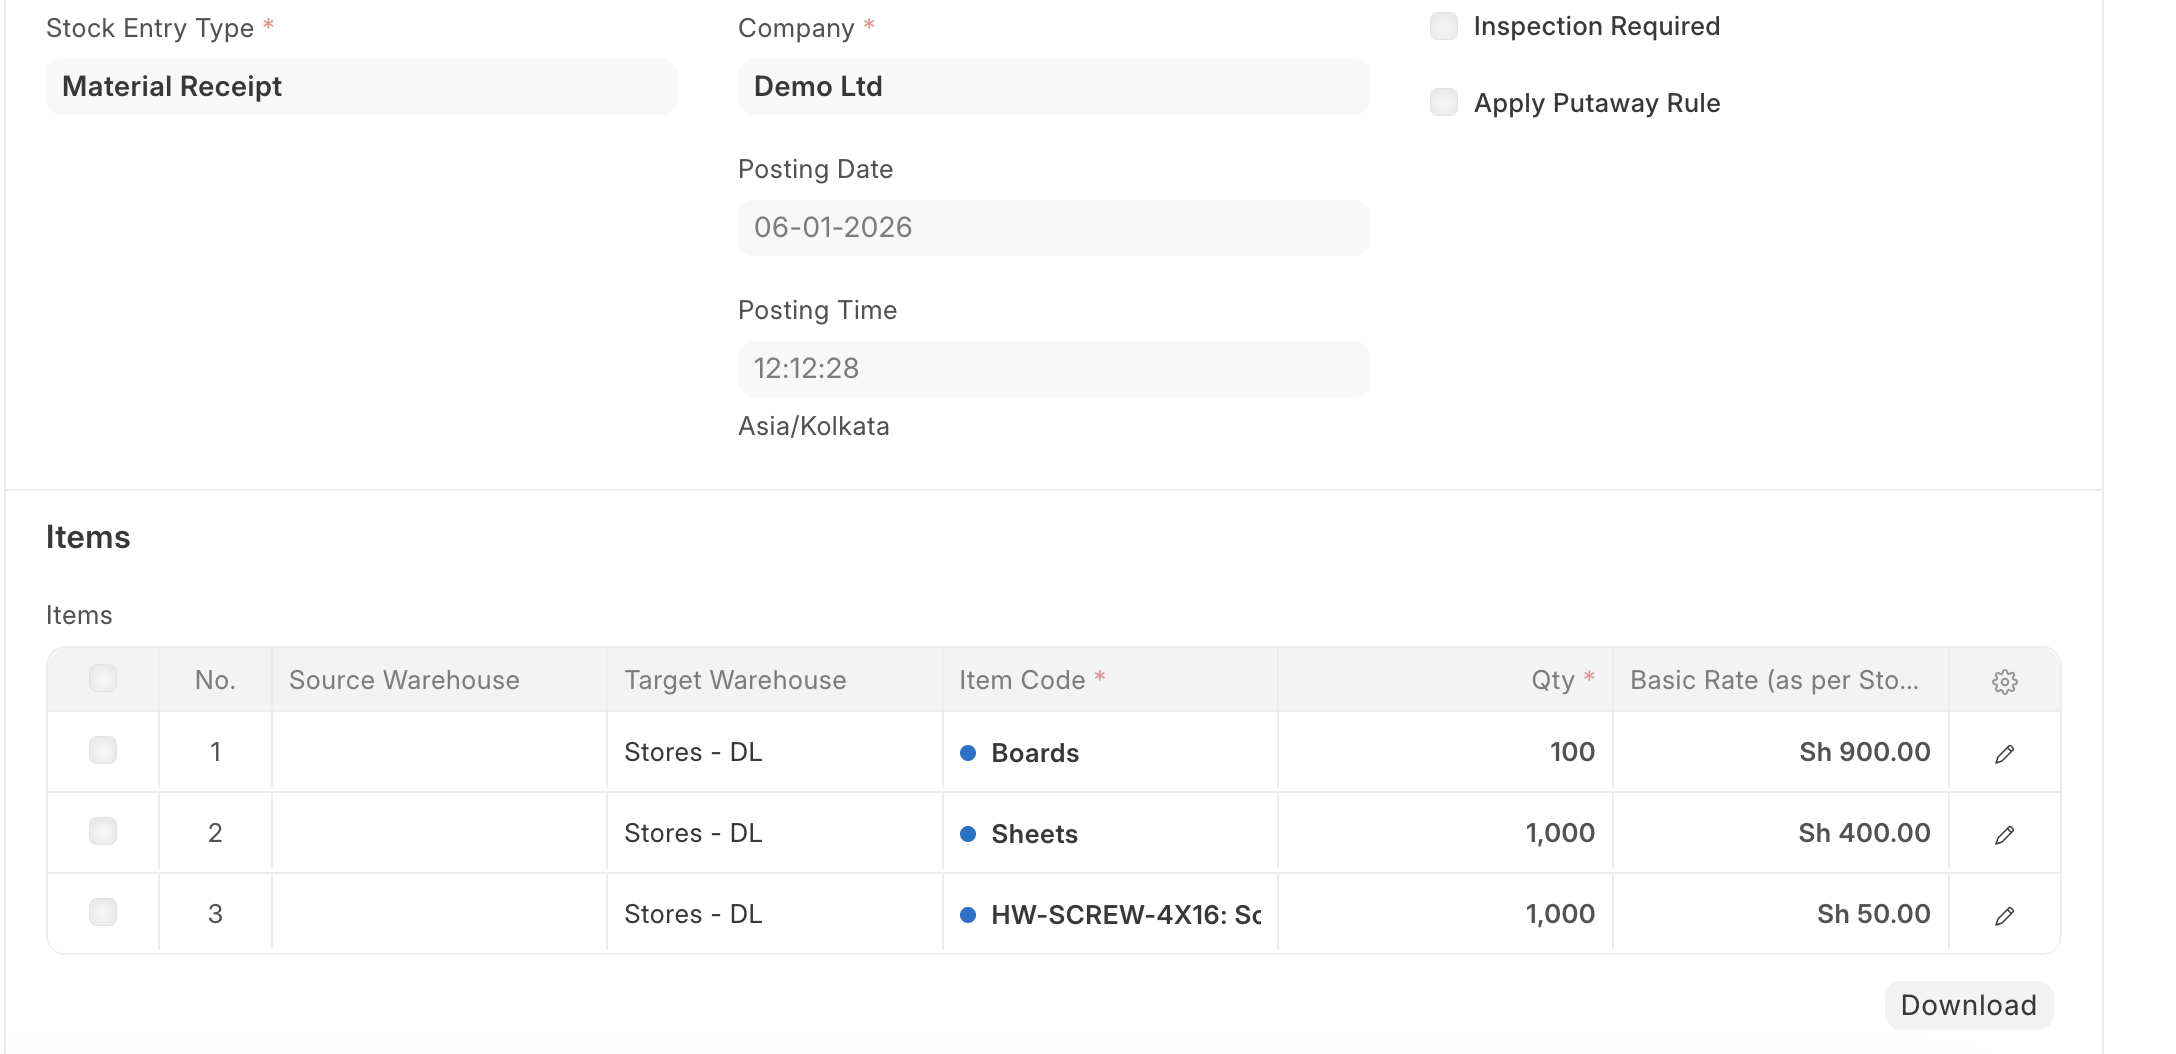
- Material Receipt: If the material is being received (Incoming Material). The Items will be added to the Warehouse set under Target Warehouse.
- Material Transfer: If the material is being moved from one internal Warehouse to another.
- Material Transfer for Manufacturing: If raw materials are being transferred for manufacturing. The transfer can happen against a Work Order or a Job Card. To know more, visit the Bill Of Materials page.
- Material Consumption for Manufacture: There can be multiple consumption stock entries against a manufacturing Work Order. Refer this link for more details
- Manufacture: If the Material is being received from a Manufacturing/Production Operation.
- Repack: If the Original item/items are being repacked into new item/items.
- Send to Subcontractor: If the Material is being issued for a sub-contract activity. This entry is made from a Purchase Order.
Before creating and using a Stock Entry, it is advised that you create the following first:
- Warehouse
- Item
How to create a Stock Entry
Stock Entries for Manufacturing purposes are usually created from a Work Order. To create a Stock Entry manually for other purposes, follow these steps:
- Go to the Stock Entry list, click on New.
- Select the Stock Entry Purpose from the ones listed above.
- If you set the Default Source or Target Warehouses, they'll be automatically filled for the rows in the Items table.
- Source/Target Warehouses will be available as per the Stock Entry Purpose you selected.
- Select Items and enter a quantity.
- The basic rate will be fetched and the amount will be calculated automatically.
- Save and Submit.
Last updated 2 months ago
Was this helpful?